My mom uses my Grandma Tarner's recipe for fruitcake and she makes one every year. She used to make both a dark Fruitcake (which was my favorite, but darnit she doesn't make those anymore!) and a white fruitcake.
Now fruitcakes get a bad wrap. Yes, they are the butt of a lot of jokes, but seriously the one my mom makes is out of this world!! She has had people tell her they don't like fruitcake, but they do like her's! Yes, it really is that good. Plus, the colors are amazing. I swear it is like looking at a stained glass window when you look at a slice and hold it up to the light. Ha!
I would love to say it is simple to make, but it isn't. There is A LOT of cutting and the cutting up of the fruit is TOUGH!!!!!! Then when you mix everything together there are so many ingredients that it is so HARD to stir! Okay, I'm not really a doing a good job at selling this am I? Ha! But, OMG, the end result is SOOOOOOOO worth it! My peeps, I am telling you, you really need to try one of these at least once before you die because you so won't regret it! I pinky swear!
So, here it goes:
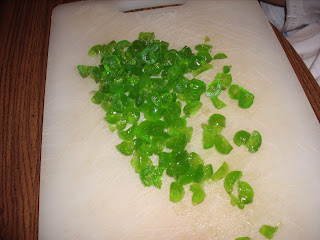
You first cut up all of the dried fruit. These are the cherries. You need one cup of them cut (the container they have at the grocery is plenty.) You can get them in either green or red and this year we got them in green. They are kind of gooey (not sure what the gooeyness is though).

Next you cut up the pineapple. And again, you need one cup. This is incredibly hard to cut. It's dried and so that's probably what makes it so difficult to cut. Again, it comes in the festive red and green colors. Pretty right?
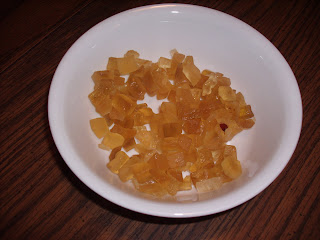
Next, is the citron (again 1 cup). I'm not really sure what kind of fruit this is. I really have no idea. I just know it is candied fruit that you put into fruitcake. :) I asked my mom what it was and her answer was, "the kind you put in a fruitcake". Ha! See.

And then comes the gumdrops (you need about 2 dozen or so). Ugh, now these can be the worst to cut up because of the sugar and the gumminess of them. Okay, I know, "gooeyness and gumminess" are not words, but I like them, so there! :)

The last is the fruitcake fruit stuff. It's already cut up and so that is really simple. Ha!

After you have everything cut up you want to just sprinkle some flour over them to keep them from getting even more sticky overnight. We always cut everything up the night before and then get up the next morning and make the fruitcake.
Now, after everything is cut you just mix it all together in a BIG bowl. You also add some other ingredients that I will mention as we go along.

So, first you take one cup of sugar and mix it with one cup of shortening and four eggs and 2 1/4 cups of flour.

You then mix in 1/2 tsp. of salt and 1 tsp. of baking soda and 1/4 tsp. of cream of tartar.
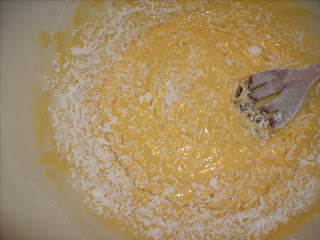
Next, you add in 1 cup of coconut.

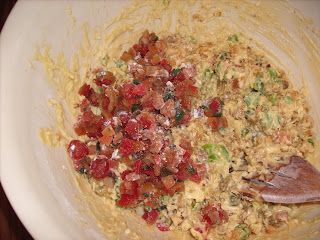
Then, you just start adding in each of the dried, cut-up fruits, one at a time. So, you add in the citron,
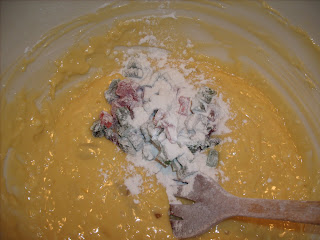
then the pineapple,
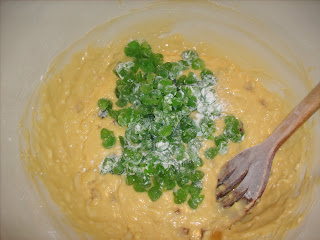
then the cherries,
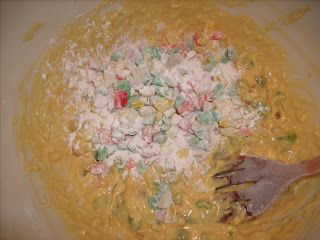
then the gumdrops,

then 1 cup of white raisins. Now before you mix the raisins in you should cook them on the stove in a saucepan with water. You just cook them long enough until they plump up. (I swear this is what my grandma's recipe says.)

Next, you add in 1 cup of walnuts,
and then finally you add in the fruitcake fruit.
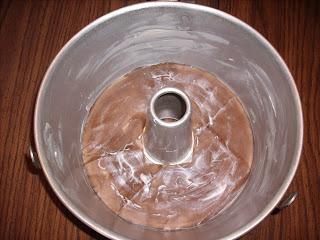
So, next you grease an Angel Food Cake pan with butter. Make sure you grease it well because you don't want this cake to stick at all. Then take a brown paper bag and trace the bottom of the pan around it and then cut it out, along with a hole in the center. This fits down in the pan. It sounds weird I know, but that's the way my grandmas did it and why mess with something that works right? Just do it. :) You should grease the paper bag too once it is in the pan.
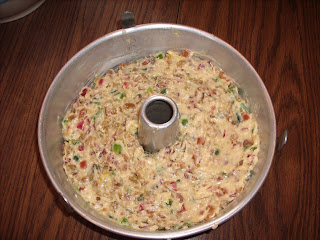
Then you scoop (trust me there is no pouring involved with this humongous cake) the cake into the pan.
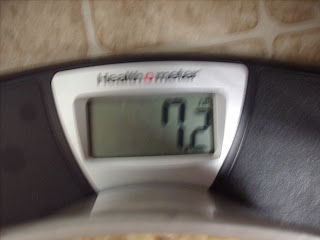
Yes, I weighed the fruitcake and it weighed 7.2 pounds!!!!!! It really is heavy!
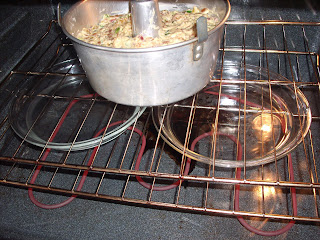
Then place the pan on the middle rack of a oven and then take two pie plates and fill them with water and put them on the rack under the fruitcake pan. This helps to keep the cake moist as it is baking. You may need to fill the pie plates again before it is done baking. Set the timer for 3 hours and that's it!

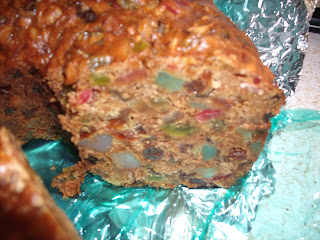

Man, is it ever good!!!! Trust me, the store bought fruitcake has nothing on my grandma's! OMG! It is fab-u-lous!!! Really, really good!
 The first thing you do is take 2 cups of pretzels and crush them. I think the easiest thing to do is to put them into a zip lock bag
 and then take a rolling pin and roll it over the pretzels and that's it. So simple and an easy cleanup too. Bonus! Save a few of the crushed pretzels to garnish with at the end.
 Next you want to melt 3/4 cup of margarine and then mix that together with the crushed pretzels and 4 tbsp. of sugar. Spread the pretzel/butter mixture over the bottom of a 9x13 baking pan. Bake this for 8 minutes in a 400-degree oven. Cool.
 Next you want to cream together an 8-0z cream cheese and 1/3 cup of sugar. Then fold into that mixture 8 ounces of Cool Whip.
 Then spread this over the crushed pretzels. Note this looks a bit lumpy and it should not. :) This is because we did not completely cream the cream cheese and sugar first before folding in the Cool Whip. Make sure you do this and it will not be lumpy.
 Next you want to prepare a small box of strawberry Jello with 1 3/4 cup of boiling water. And then stir in the frozen strawberries. Pour this over the cream cheese layer. And then refrigerate for 3 hours.


