Saturday, November 6, 2010

Porkchops and Applesauce...That's Swell

Sorry for being incognito for the past month. I lost my job and am moving back home to Pennsylvania. While I am extremely happy about moving back closer to my whole family and friends, I wish it would have happened differently.

Okay, well Peter Brady had it half right with the applesauce. A couple of weeks ago I made my annual homemade applesauce. If you remember reading from last year's post I love to make my own applesauce. Yes, I know I could easily buy it, but mine tastes so much better!!!! Seriously, you should make your own and then you'll understand. Plus it is super simple.

First I washed off of my apples.

Then I slice them all. I tried to use my Pampered Chef Apple Slicer and that worked for some of the apples but the majority of them were way too large and I kept getting the apples stuck in the slicer (not fun!). So, for the larger ones you can just slice and core them yourself.

Then, I put all of the apple slices in a huge pot of water and turn the burner on high. I let them boil for about 10-20 minutes until they get soft.

Next, I use a food mill to get the skin off of the apples. Trust me on this one, it is MUCH easier to boil the apples and get them soft so the skin just peels off, rather than peel them all by hand ahead of time. That's a big waste of time plus you run the risk of wasting so much of the apple in the peeling process. So anyway, you take a bunch of the boiled apple slices and place them in the food mill and then take the wooden utensil and swirl it around the food mill and the apple sauce falls out the bottom and the skins stay inside. So Simple!!! Amazing! I don't think you can even buy these anymore.

Finally, you have this wonderful container of applesauce. I add in some of the Cinnamon Red Hots and some Cinnamon. That's it! Soooo simple and yet so fab-u-lously delicious!!!!!!

Do any of you make your own applesauce and if so, how do you make yours?

Sunday, October 10, 2010

Bleeding Hearts and Mummy Dogs

Okay, so continue on with yesterday's Halloween post, I also tried out two more recipes. Again soooooo incredibly simple and yet soooooo delicious!! Your kids are going to love these and you will too!!!!

Sorry for only the one picture and of course the pre-baking picture. The foods were so good, I started eating them and then realized that I forgot to take a picture first! Ha!

The first one was for Mummies. They were so easy and so cute. You just take a package of hot dogs and some of the Pillsbury Breadsticks. Unroll the breadsticks and then separate into pairs (two breadsticks together). Roll the breadsticks out so they are really really long and thin. And then wrap the rolled out breadstick around the hot dog. Leave a space at the top of the hot dog for the mummy's head. You really have to roll these out. You will think it is way too long and too thin, but trust me once it is wrapped around the hot dog it will start to unwrap itself. That part is a huge pain. Put these in a 350 degree oven for 20 minutes and then remove, put mustard on the face for two eyes and that's it! So cute and so good. I used the Nathan's Hot Dogs. They are pricey but OMG!!!! so good! It is really the only hot dog I eat anymore.

Now onto the next one. This is called a Bleeding Heart. It is basically Baked Brie! OMG!!! Baked Brie is one of favorites!!! Soooo good. All you have to do for this is buy an 8oz. round of Brie Cheese or you could buy the large round if you like. Then you take a package of the Pillsbury Croissants and lay that out flat and then separate into two separate squares. Place the Brie Cheese on one of the squares and then pour 3/4 of Cherry Preserves over the top (you can use whatever preserves you want but bleeding makes me think red and that is what the recipe called for too). Then you place the other croissant square over the top and seal along the sides. Brush with a beaten egg and then place this in a 350 degree oven for 25 minutes and that's it! I always thought Baked Brie was so extravagant and hard, but boy was I wrong. It is just so simple. But the finished plate is gorgeous!

So, now go out and make them for your little ghosts and goblins! :)

Saturday, October 9, 2010

Bat Wings and Spiderwebs!

I am getting ready for a Halloween Party and decided to work out some spooky and scary recipes. Ha! :)

I made these adorable Bat chips. They were so simple, but so good!!!

You just take a bag of flour tortillas and a Halloween cookie cutter and cut out some shapes. I had a bat coookie cutter and so that is what I used. You have to hit the top of the cutter a few times and wiggle it around some so you know it went the whole way through the tortilla.

They are so cute right!?!

Spray a cookie sheet and then place the cut-outs on the cookie sheet and spray the cut out shapes.

You then mix together 3/4 tsp. of coriander, 3/4 tsp. of paprika, 3/4 tsp. of garlic salt and 1/4 tsp of black pepper. Sprinkle the cut out shapes with the spice mixture. The place in a 350 degree oven for 8 minutes and remove.

That's it!

I also then made this fab-u-lous Spider Web Dip to go along with the bats. It is gorgeous!!!

All you do is combine 3/4 cup of salsa and 1 8-0z. block of cream cheese and then spread it on a pie plate. Next put a layer of guacamole over the cream cheese mixture. And then put some sour cream in a zip lock bag and snip the corner off and then make circles over top of the guacamole. Just keep making circles until you've reached the center. Then you take a knife and run it from the center outward. Do this the whole way around. That's it! Simple right. But look at the fantastic final project. Perfecto!

Saturday, September 25, 2010

Sandra Bullock and Fabulous Grilled Cheese

Back in August I went to Austin, TX for a couple of days of rest and relaxation. We stayed in an amazing house right along the Indian River in Bee Cave. One of the days we traveled in to Austin and went to Sandra Bullock's deli, Walton's, for lunch. The decor was so awesome, very relaxed and comfy.

I ordered this fab-u-lous Grilled Cheese with Bacon sandwich. OMG!!!! Can I just tell you how incredibly good it was!!!! There was soooooo much cheese and huge, thick pieces of bacon! Seriously, it was nothing I have ever had before and believe me, I consider myself a connoisseur of Grilled Cheese!!! :)

This is a picture of the inside of the restaurant.

And this is the front window.

We didn't run into Sandra that day, but last year when my friend Jessie was there, Sandra was sitting at the next table writing. So cool right? Love her!

Friday, September 17, 2010

Chex Party Mix Bowl (well kind of)

A couple of weeks I went to a patio party at my friends Kim and John's place. They built a new patio in their yard and had a party to break it in. I saw this recipe for a Chex Party Mix Bowl in a magazine and thought I would give it a try. It really wasn't that difficult to make; although, mine fell apart. :)You just take a bag of Chex Party Mix (you use 8 cups).

Then take 2 egg whites

and beat until stiff peaks form. I love the little egg separator utensil I have. I use it all the time. It's just plastic and you can find it in any kitchen section of any store really.

Then mix the egg whites with the Chex Party Mix.

Put it into an oven safe bowl. Take a piece of aluminum foil and place in the bowl on top of the Chex Party Mix. You can use the foil to push the Chex Party Mix up the sides of the bowl.

Put the bowl in a 325 degree oven for 30 minutes. Take out of the oven and let cool for 5 minutes and then remove the foil. Wait until completely cool and then turn the bowl upside down and remove from the Chex Party Mix. What you should have is a nice round bowl.

Instead, this is what I had. Ha! I think I didn't make the Chex Party Mix thick enough up the sides of the bowl. Just make sure it is THICK. Plus, I think I needed a wide bowl and one that wasn't so deep; gravity was not our friend that day. :)

Hey, it's a work in progress. Haven't you ever made something and the first time you made it, it didn't turn out correctly? Next time it will turn out better I'm sure.

Wednesday, September 15, 2010

My Grandma Reed's Stuffed Peppers

These are not like your average stuffed green peppers. There is no hamburger, no rice and no tomato sauce. I had actually never heard of stuffed green peppers made with hamburger, rice and tomato sauce until a couple of years ago. I was at a restaurant and ordered the stuffed peppers and when they came to the table I looked down at my plate and wondered if they mixed up my order with someone else's. They said no. Hmmmm, strange. You see, the stuffed green peppers I always had growing up were made with bread, cheese and butter and then cooked in chicken noodle soup. Yep! It is fab-u-lous!!! So so good!!!!! And it is how my grandma Reed always made them and how my mom made them too.

First you cut off the top of some green peppers so they can sit upright on their own.

Then you dice up some bread or you can tear it apart. How much you use really depends on how many green peppers you have. I had eight and I used about half a loaf of bread.

You then dice up some sharp cheddar cheese. I just buy a block of the Kraft Sharp Cheddar Cheese.

Then melt some butter. Again, how much you need depends on many peppers you have. I like mine cheesy too. :)

Mix everything together in a bowl and add in some salt and pepper. Stuff the green peppers with the stuffing mixture. I also add a piece of cheese to the top of each pepper.

Next, in a large on pot on top of the stove, cook a can of chicken noodle soup with one can of water. Set the stuffed green peppers down in the chicken noodle soup so they are sitting upright. Cover with a lid. Cook for about 15 minutes or so. The peppers should be somewhat soft and the cheese on top should be melted.

Put on a plate and pour some chicken noodle soup over the top. OMG!!!! It is sooooooo good!! You've got to try them like this. Seriously, tell me you're going to make them tomorrow night because you know it sounds so good, right?

Saturday, September 11, 2010

Strawberry Fields Forever

No, this isn't a Beatles tribute. :) This is a fab-u-lous Strawberry cake. It is actually out of Paula Deen's magazine and y'all know how fantastic her recipes and foods are. Well, this was no different and it most definitely did not disappoint.

You first just take a white cake mix.

A box of Strawberry Jell-O.

Frozen Strawberries in Syrup (thawed and pureed).

And eggs.

Mix the box of white cake mix with the box of Strawberry Jello, 4 eggs and the 10-ounce package of pureed strawberries and 1/2 cup of oil and 1/4 cup of water.

Pour into two 8-inch round cake pans. I used 9-inch because that's what I had, but the 8-inch make a higher layered cake.

Bake in a 350 degree oven for 20 minutes (mine actually took more like 35 minutes until a toothpick came out clean).

Cool completely on a cooling rack before icing the cakes.

I made my own Strawberry Cream Cheese Frosting. This is really simple and really so much better than the store bought kind.

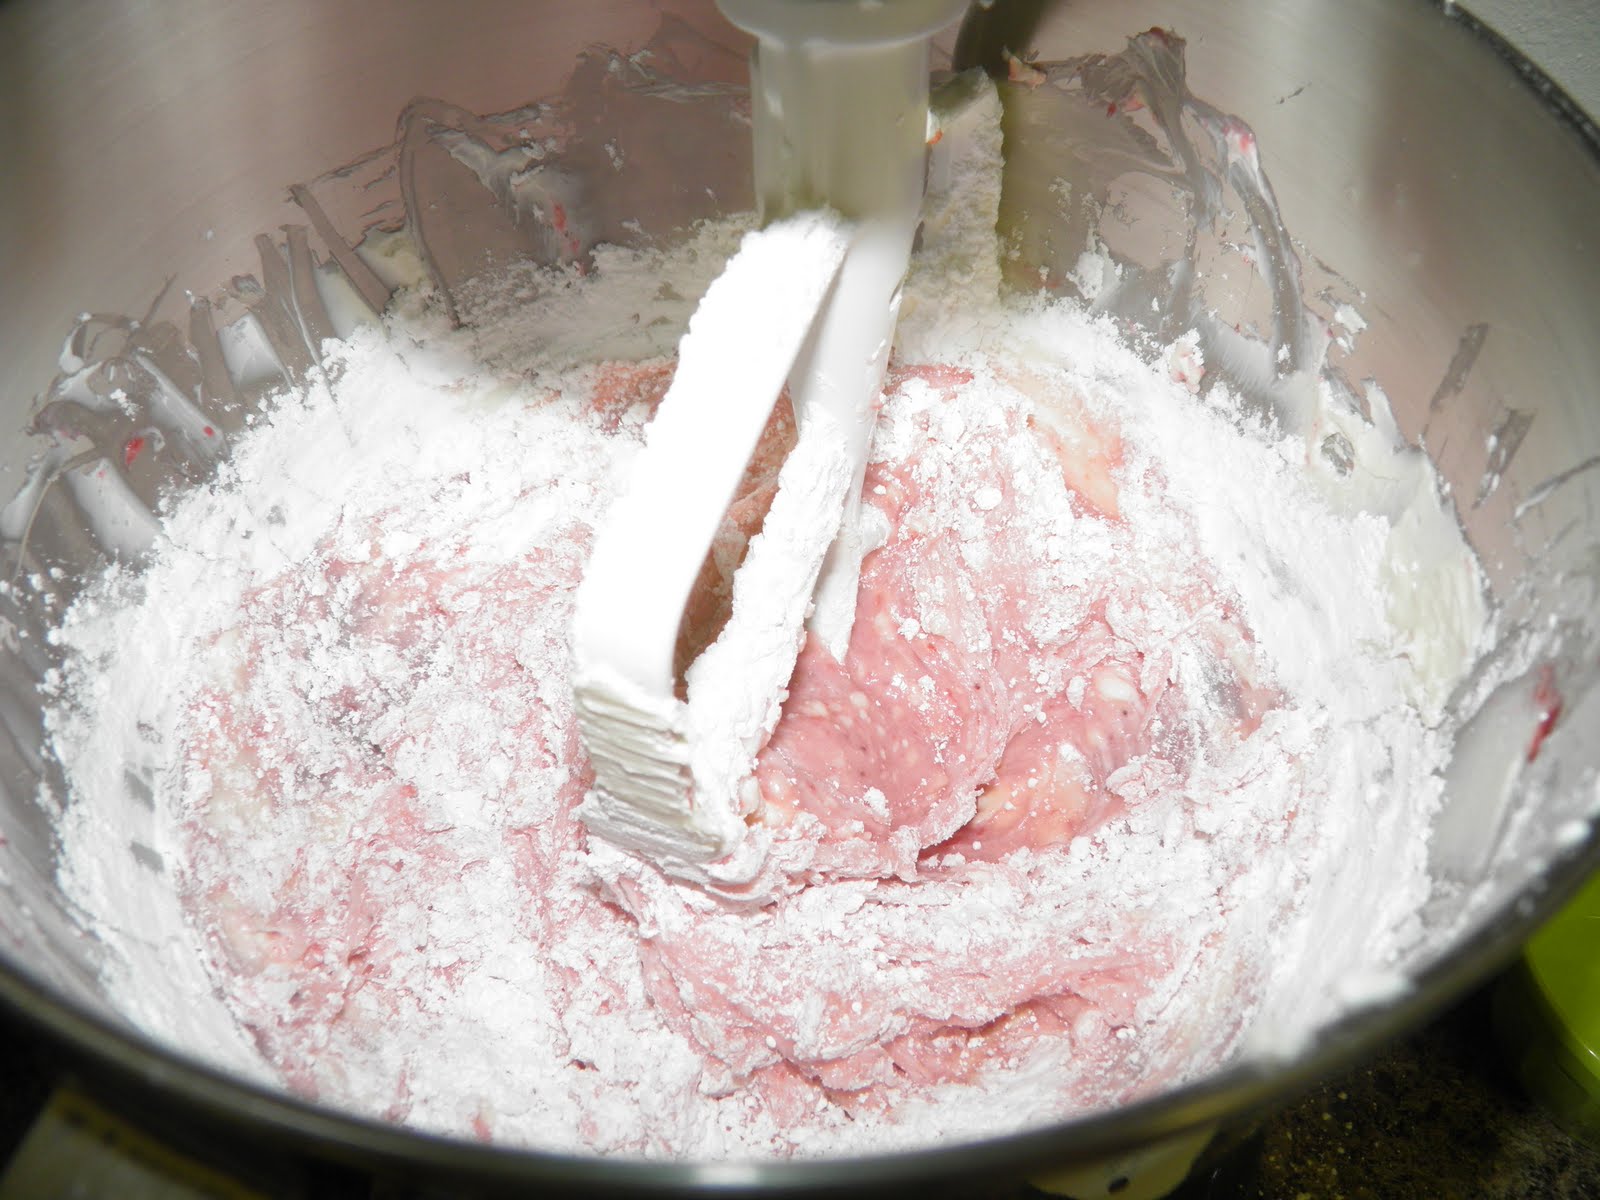
For the frosting, you combine 1/4 cup of softened butter, 1 8-oz package of softened cream cheese, 1/4 cup of pureed frozen strawberries in syrup, 1/2 teaspoon of strawberry extract and 7 cups of confections' sugar. Just mix this all up and that's it! See, it is really, really easy and oh so good! Seriously, you will DEFINITELY be licking this bowl!!! Ha!

I then decorated it with some sliced strawberries. It is so pretty right? Everyone loved it! It was soooooo moist!! You've got to make this today. Let it be the last hurrah for the summer!! :)